
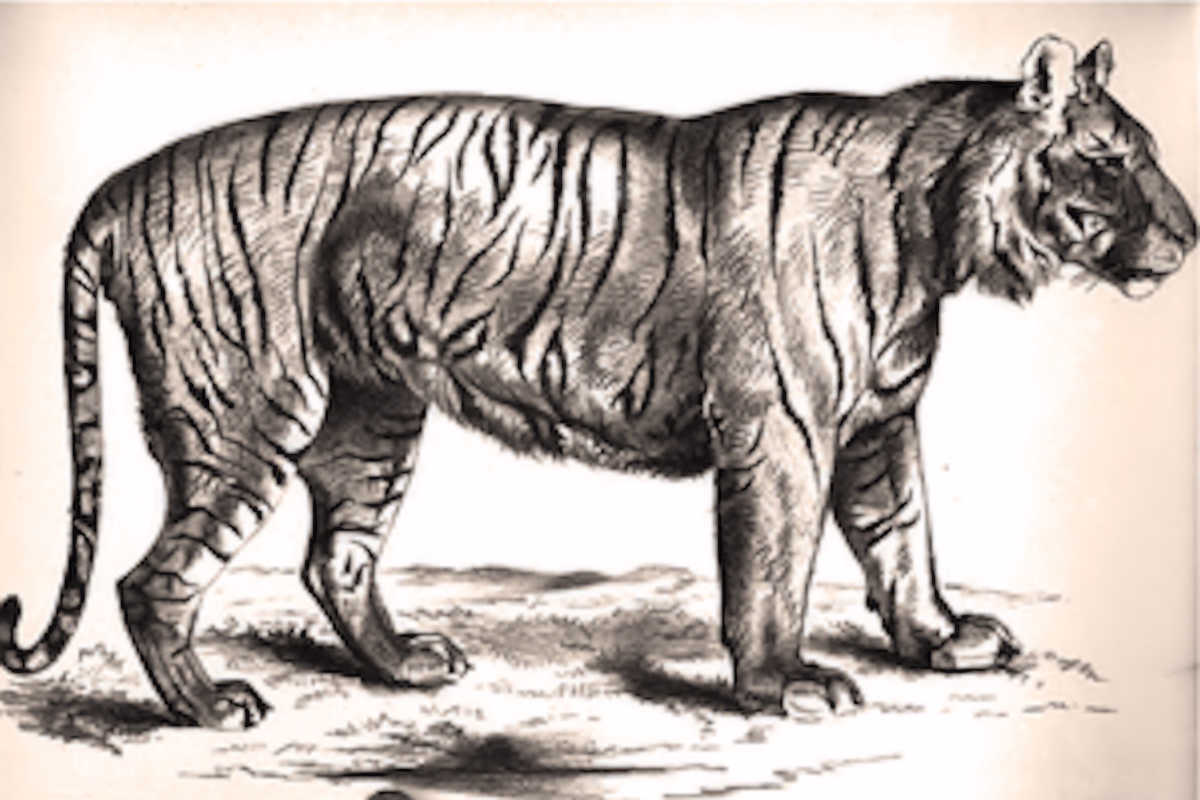

Do you find the thought of drawing realistic animals daunting? Have you tried, only to find that something just doesn’t look quite right? Here are 5 helps for drawing realistic animals — suggestions that will help make your nature sketches accurate and full of life:
1. Study animal anatomy.
Pay special attention to the skeleton and the muscles. They make up most of the shape of the animal. If you become very familiar with them, you’ll have a much easier time drawing an accurate outline.
2. Observe the correct proportions.
There are many ways to hide minor flaws in a work of art, but there is no way to hide inaccurate proportions. They have a way of turning an otherwise perfect drawing into a caricature. To avoid this, you’ll need to pay close attention to how proportions work in real life.
If you’re drawing from a photo, or even sketching the family pet, measure the different parts of the animal to see how they relate to each other. Some people find it helpful to draw a grid, but you have to be careful to draw it lightly and erase it completely when you’ve finished.
3. Capture the animal’s personality.
You can draw the most anatomically correct picture in the world, but if it has no expression, the animal will look dead.
Spend as much time as it takes to give a clear impression of the animal’s character and mood. A good bit of this will come out in the eyes, mouth, ears, and tail, but posture, actions, and even surroundings can give the viewer an idea of the animal’s personality.
4. Stay away from solid lines.
How can you tell an animal from its surroundings in nature even though there’s no solid black outline around it?
Usually it’s a different color or shade than the background. Keep this in mind when you’re drawing. Don’t use a solid outline; use small lines to show the lie of the fur or use shading for animals that aren’t very furry.
5. Blend.
If you have a dog or a cat or another animal with patches of more than one color, look and see how the patches blend into each other. Animals with fur never have a sharp edge between one patch and the next; a few hairs from each patch always extend into the adjoining patch.
You have several options on how to convey this in your artwork. You can feather the edges, use subtle shading to form a gradient, or blur the patches together a little with either your finger or a blending stump, also called a tortillon. Be sure to experiment with these techniques when you want to make changes between light and shadow as well. This applies even to animals without much fur.
Additional Resources

The Art of Animal Drawing by Ken Hultgren
Subtitled “Construction, Action Analysis, Caricature,” helps study the anatomy as described in help #1 above.
Stumps and Tortillions Set
Various sizes for blending as mentioned in help #5 above.


You must be logged in to post a comment.