
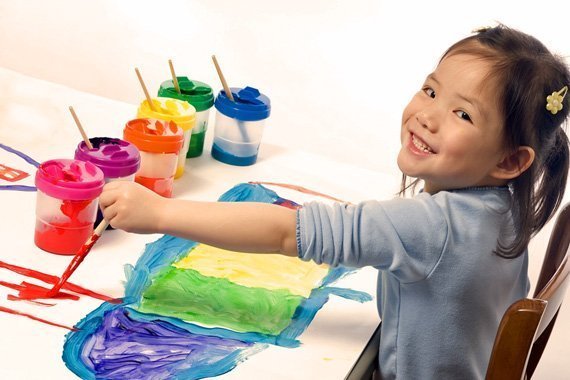

So now you have your child learning on his own! And look at the things he is producing. A great number of things. What do you do with all of those … things? When it comes to your child’s artwork, here are 10 things we have actually done over the years to preserve creations.
Since web companies come and go, we’ll have to leave you to find your own favorite online retailers to work with, when necessary. A simple online search should get you started in the right direction!
1. Frame it.
Establish a “wall of frame.” Find frames that stick to one color, or one style, or one theme. Frame away!
2. Make placemats.
We always had fun coloring, making, and using Jan Brett placemats.
You can do the same thing with your child’s artwork by choosing pieces that will make a collage of the correct size. Cut, arrange, and glue onto cardstock; then laminate.
3. Make a card.
Grandparents, friends, and relatives might enjoy receiving a card with original artwork on the cover.
Just fold a piece of cardstock in half. Adhere the artwork to the front, and use calligraphy or handwrite a message inside.
4. Create a calendar.
There are many software programs (some free) and online retailers that allow you to create and print a calendar.
Scan 12 pieces of your child’s artwork, arrange in the software program, and print out an original calendar to use at home or to give as a gift.
5. Decorate a deck of playing cards.
There are several companies that will use your scanned image to create a deck of playing cards with the image on the back. Some will even allow you to use more than one image for each of the 52 cards in the deck.
6. Create a jigsaw puzzle.
You can make your own by gluing to cardstock and cutting out a jigsaw pattern.
Or you can scan an image and have a company turn your child’s work of art into a wooden or cardboard jigsaw puzzle.
7. Notebooking.
Always a favorite. You can include original works or take a photograph of the work to keep in a notebook.
If you start this early on and continue through the teen years, you and your child will see amazing growth and have many keepsakes to remember and share!
8. Create an artwork slideshow screensaver.
Again, scan or take a photo. Then use the digital image to create a slideshow. Add music or voice-over. The final results can be viewed anytime, used as a screensaver, or saved to DVD for keeping or giving.
9. Make a coffee table book.
Scan the artwork. Have your child describe the work to you. Lay out each page digitally with the description.
You can print it out and bind it, or submit a PDF to a manufacturer who will send you a bound book. (Some will allow you to use their software or create the work online.)
10. Artwork on canvas.
Transform your child’s artwork into a masterpiece!
Several online companies will let you upload your scanned artwork and transfer it to canvas. Certainly a more costly option, but we were very pleased with the results when we tried it.


You must be logged in to post a comment.